CCProxy Server Configuration
We will explain the functions of CCProxy in this section. As proxy
server software,
CCProxy has many useful functions. It's not only
Internet connection sharing software,
but also Internet access control
software. Below we will introduce all functions of CCProxy.
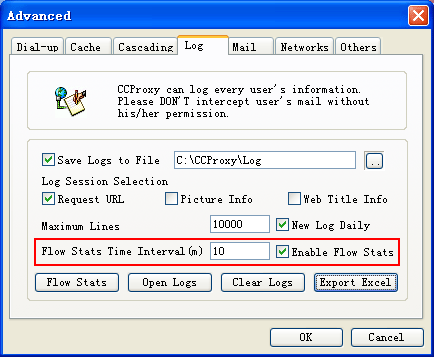
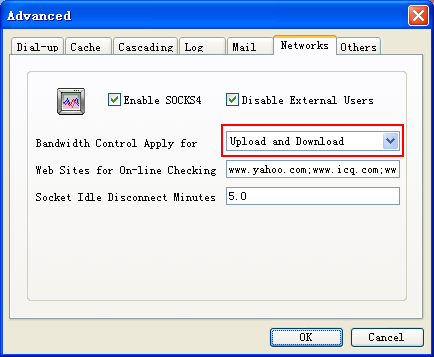
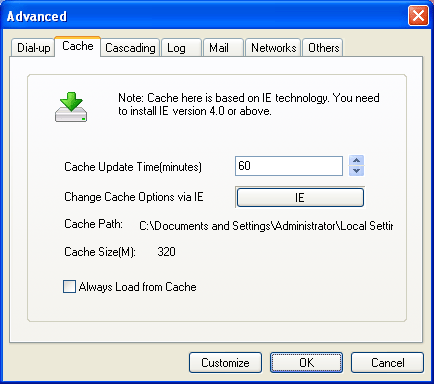
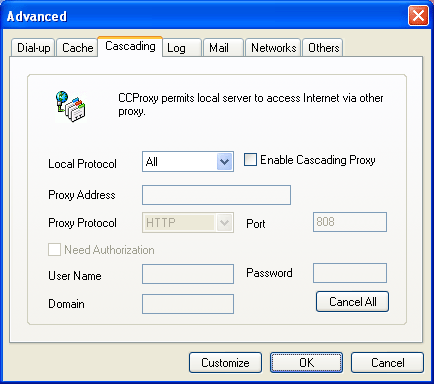
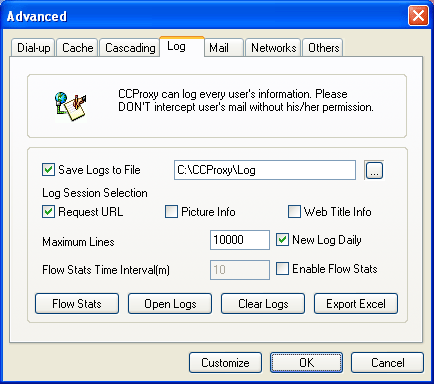
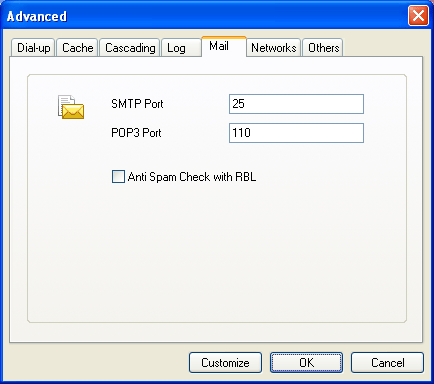
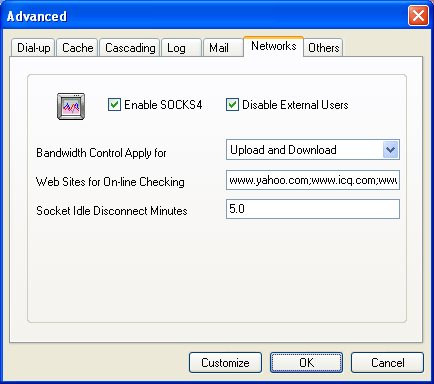
Main Window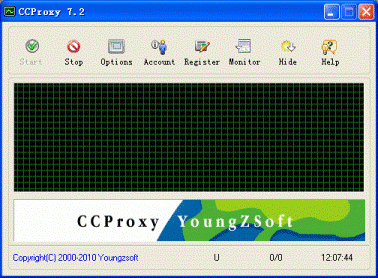 Options Dialog Box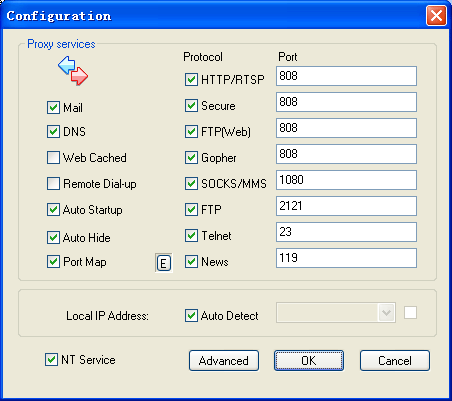 Open options dialog box by clicking "options". Mail: To start mail proxy service. DNS: To start DNS proxy service. Web Cached: If checked, the HTTP proxy will load and store web pages to the proxy cache. Remote Dial-up: To enable remote dial-up from clients. Auto Startup: If checked, CCProxy interface will start automatically when Windows starts up. Port Map: To start port map service. You can click the "E" button to add or edit the port map rules. HTTP/RTSP: To start HTTP and RTSP proxy service and set proxy port. Secure: To start secure (HTTPS, SSL) proxy service and set proxy port. FTP (Web): To start web ftp proxy service and set proxy port. Gopher: To start gopher proxy service and set proxy port. SOCKS/MMS: To start SOCKS and MMS proxy service and set proxy port. FTP: To start FTP proxy service and set proxy port. Telnet: To start Telnet proxy service and set proxy port. News: To start News and NNTP proxy service and set proxy port. Notes: FTP (Web) proxy service is different from FTP proxy service. FTP (Web) is used in IE browser. IE access FTP site via FTP (Web) proxy service, and FTP proxy service is used on FTP client software such as CuteFTP, WS-FTP and etc. Local IP Address: To display and set local IP address. If you check "Auto Detect", CCProxy will auto detect which IP is the local IP address and display it in the combox list. If you find that the result is incorrect, you need to uncheck "Auto Detect" and choose the correct local IP address from the list. You can select multiple IP addresses as the local IP address. When you choose one local IP address, you need to check the checkbox beside it. NT Service: If this is checked, CCProxy will be run as Windows service. Advanced: To open the advanced options dialog box. Advanced Options You can open the advanced options dialog box by selecting "Options -> Advanced". There are 7 tabs in this dialog box. Dial-up: To configure the dial-up service. Cache: To configure the web-cached function, i.e. cache size, cache update time. Cascading: To configure the cascading proxy, also called parent proxy, service. Log: To configure the proxy logging service, i.e. log size, log type, etc. Mail: To configure the mail proxy service. You can change the mail proxy ports here. Network: To configure the proxy network settings such as server IP address binding, socket idle timeout, etc. Others: To configure the other proxy settings such as interface language, remote admin, etc. More... |
|||||||||||||||||||||||||||||||||||||||||||||||||||||||||||||||||||||||||||||||||||||||||||

| |||||||||||||||||||||||||||||||||||||||||||||||||||||||||||||||||||||||||||||||||||||||||||

Sunday, July 15, 2012
CC Proxy


Subscribe to:
Post Comments (Atom)
No comments:
Post a Comment